
Appearance
Open your store
Start with your store details, one product and a way for shoppers to pay. You can prepare the home page before releasing it to shoppers.
Create the store
- On the sign-in page, choose Open a store.
- Enter your email, request a code, then enter the code and choose a password.
- Give the store a name and choose its address. A reserved or already-used address needs a different name.
- Choose what you sell, then enter your name and mobile. Add your GSTIN if applicable.
- Finish setup to open the console. Verify your mobile when the dashboard asks.
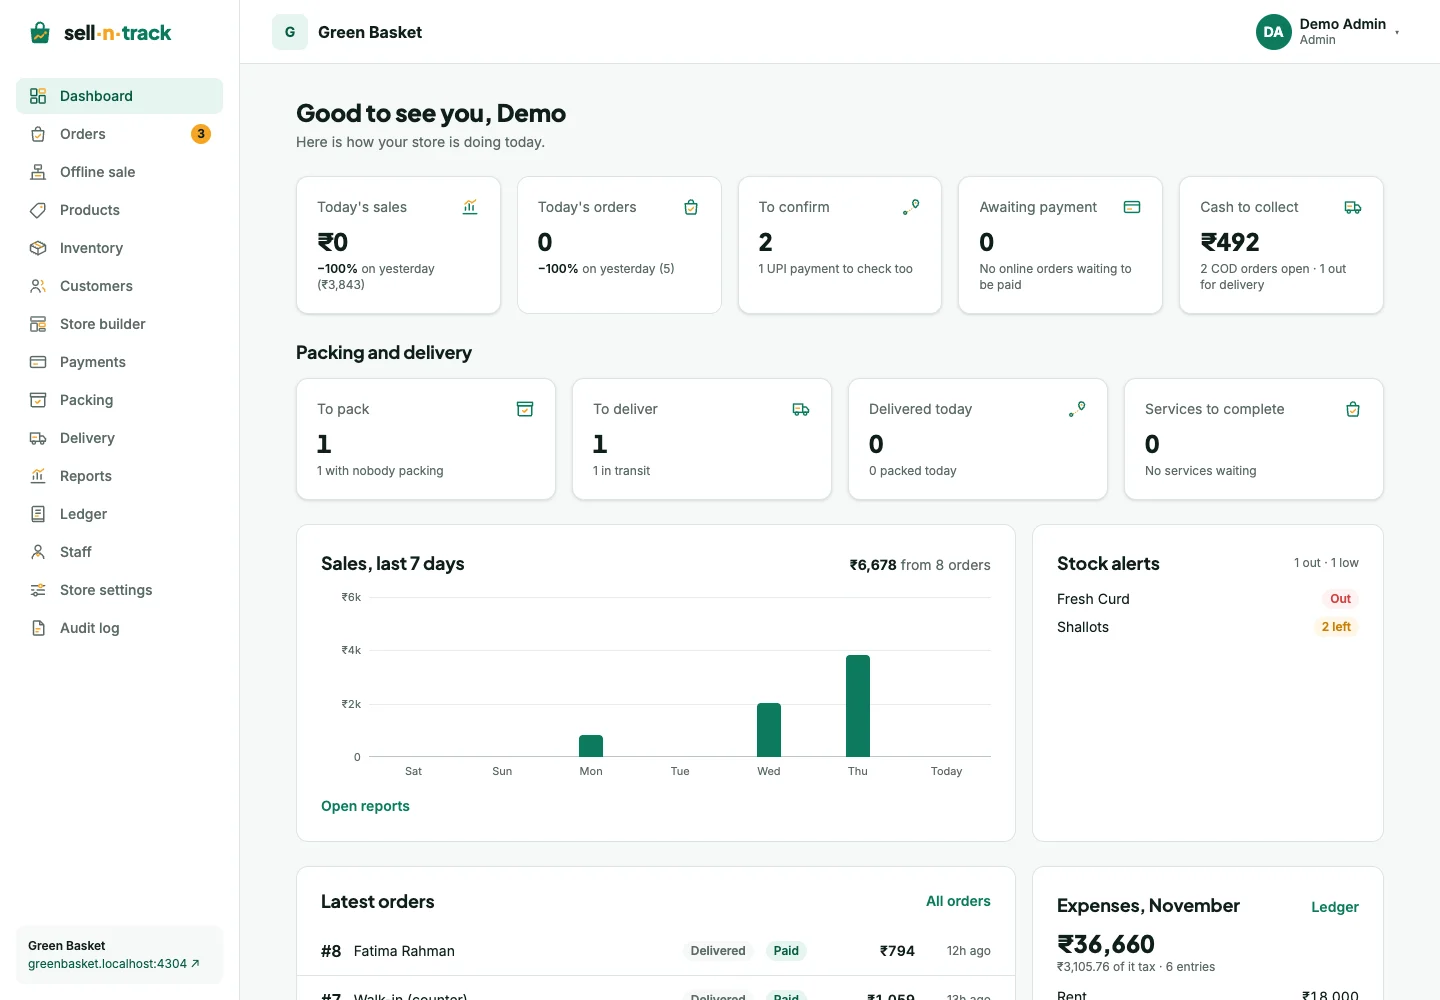
Your shop and console have different addresses. Shoppers visit your shop; you and your team work in the console. Share the shopper address from the sidebar, rather than a link to your dashboard.
Get ready for the first order
- Add a product, including its price and available stock.
- Choose payment methods. COD and direct UPI do not need an online gateway account.
- Set delivery areas and hours, so checkout reflects where and when you serve shoppers.
- Design and release the home page. Draft edits do not update the live page.
The dashboard checklist tracks mobile verification, logo, product, payment and publishing. Publishing needs a verified administrator mobile.
Invite help when you need it
A new Basic store has one user place. The Staff page shows the plan and places used. If Invite is unavailable because the store is full, arrange more places before inviting another person. See Staff and permissions.